Article: Setting Up Your New PC

Setting Up Your New PC
Unbox your PC:
- Check for box indicators or follow the external branding to ensure it's facing the right way up.
- Carefully lift the PC from its box.
- Place the PC on a secure surface.
- Remove the outer protective materials surrounding the PC.
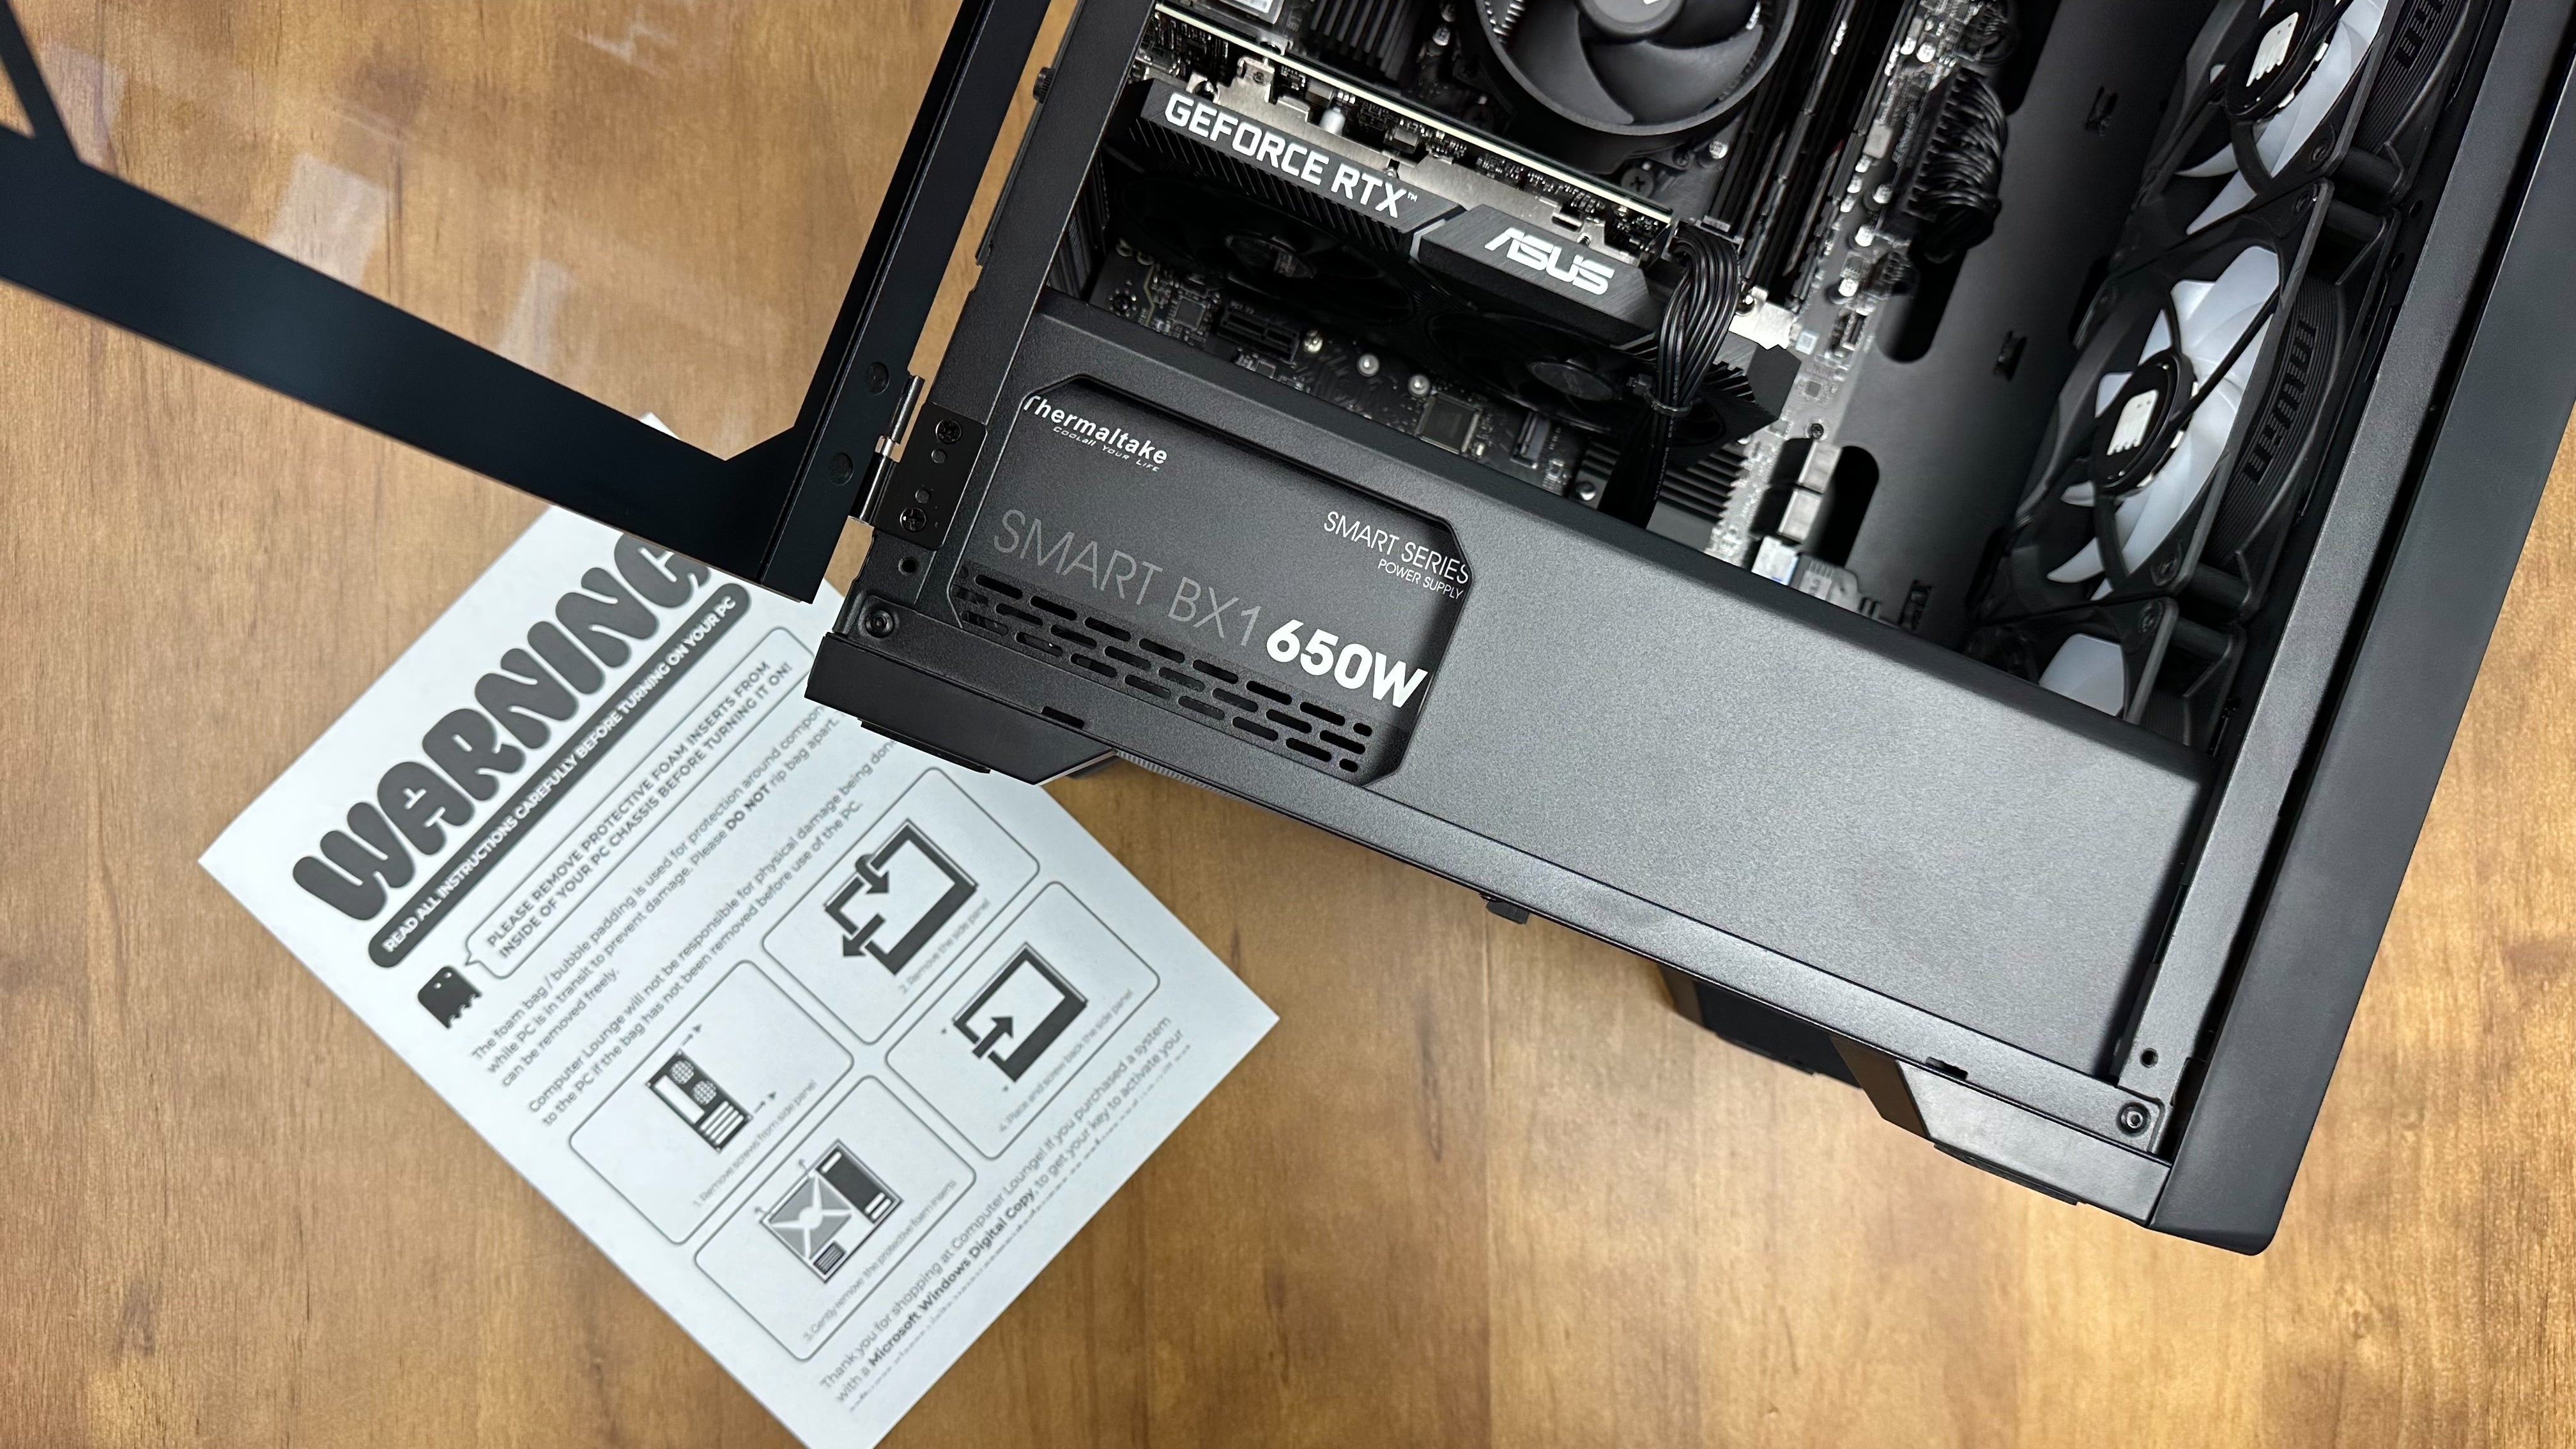
Remove internal packaging:
- Remove the side panels to access the inside of the PC. A philips head screwdriver may be required depending on the case.
- Set aside the side panels carefully and remove all internal packaging. Ensure all of it has been removed to avoid potential damage when turning the PC on.
- Reinstall the case panels back onto the PC.
Get connected:
- Plug in your power cable into the power supply located at the rear of the PC, towards the bottom of the case.
- Connect your display cable(s) to the graphics card, usually located in the horizontal slot about halfway down the back of the PC. Some cases may have vertically aligned graphics card slots.
- If your system has Wifi/Bluetooth compatibility, install the included wireless antenna by screwing to the brass screw-on connections on the motherboard (usually next to the audio ports).
Power on:
- Check that the power supply switch is in the "I" position
- Press the power button and observe for signs of life, such as fans spinning and the monitor connecting to the PC.
- If everything appears normal, proceed to connect your peripherals and additional devices.
- Congrats! Your brand new PC is ready for use - enjoy.
